Although hydraulic brakes are a closed system, air can still eventually penetrate the circuit leading to reduced braking performance, which can be felt as spongy brakes and less pedal response. If air in the brakes is diagnosed as the cause, it can be addressed by changing the brake fluid and bleeding the braking system.
Brake fluid itself is hygroscopic (absorbs moisture from the environment), hence why manufacturers recommend that brake fluid be replaced at regular intervals; refer to the vehicle owner’s manuals for recommended replacement intervals.
Brake bleeder kits such as this one are widely available from auto retail outlets for a modest investment.
Air can enter the braking system in several ways: when the cap is removed from the brake fluid reservoir, via microscopic pores in rubber hoses, through the normal driving cycle as the brake fluid heats and cools, or when the brake fluid is replaced.
Bleeding the brakes is a relatively simple exercise and there are several methods of doing it depending on the tools at hand. One of the most efficient ways of getting the job done though – and especially if working alone – is using a brake bleeder kit. These can be purchased from most automotive retail outlets for a modest outlay.
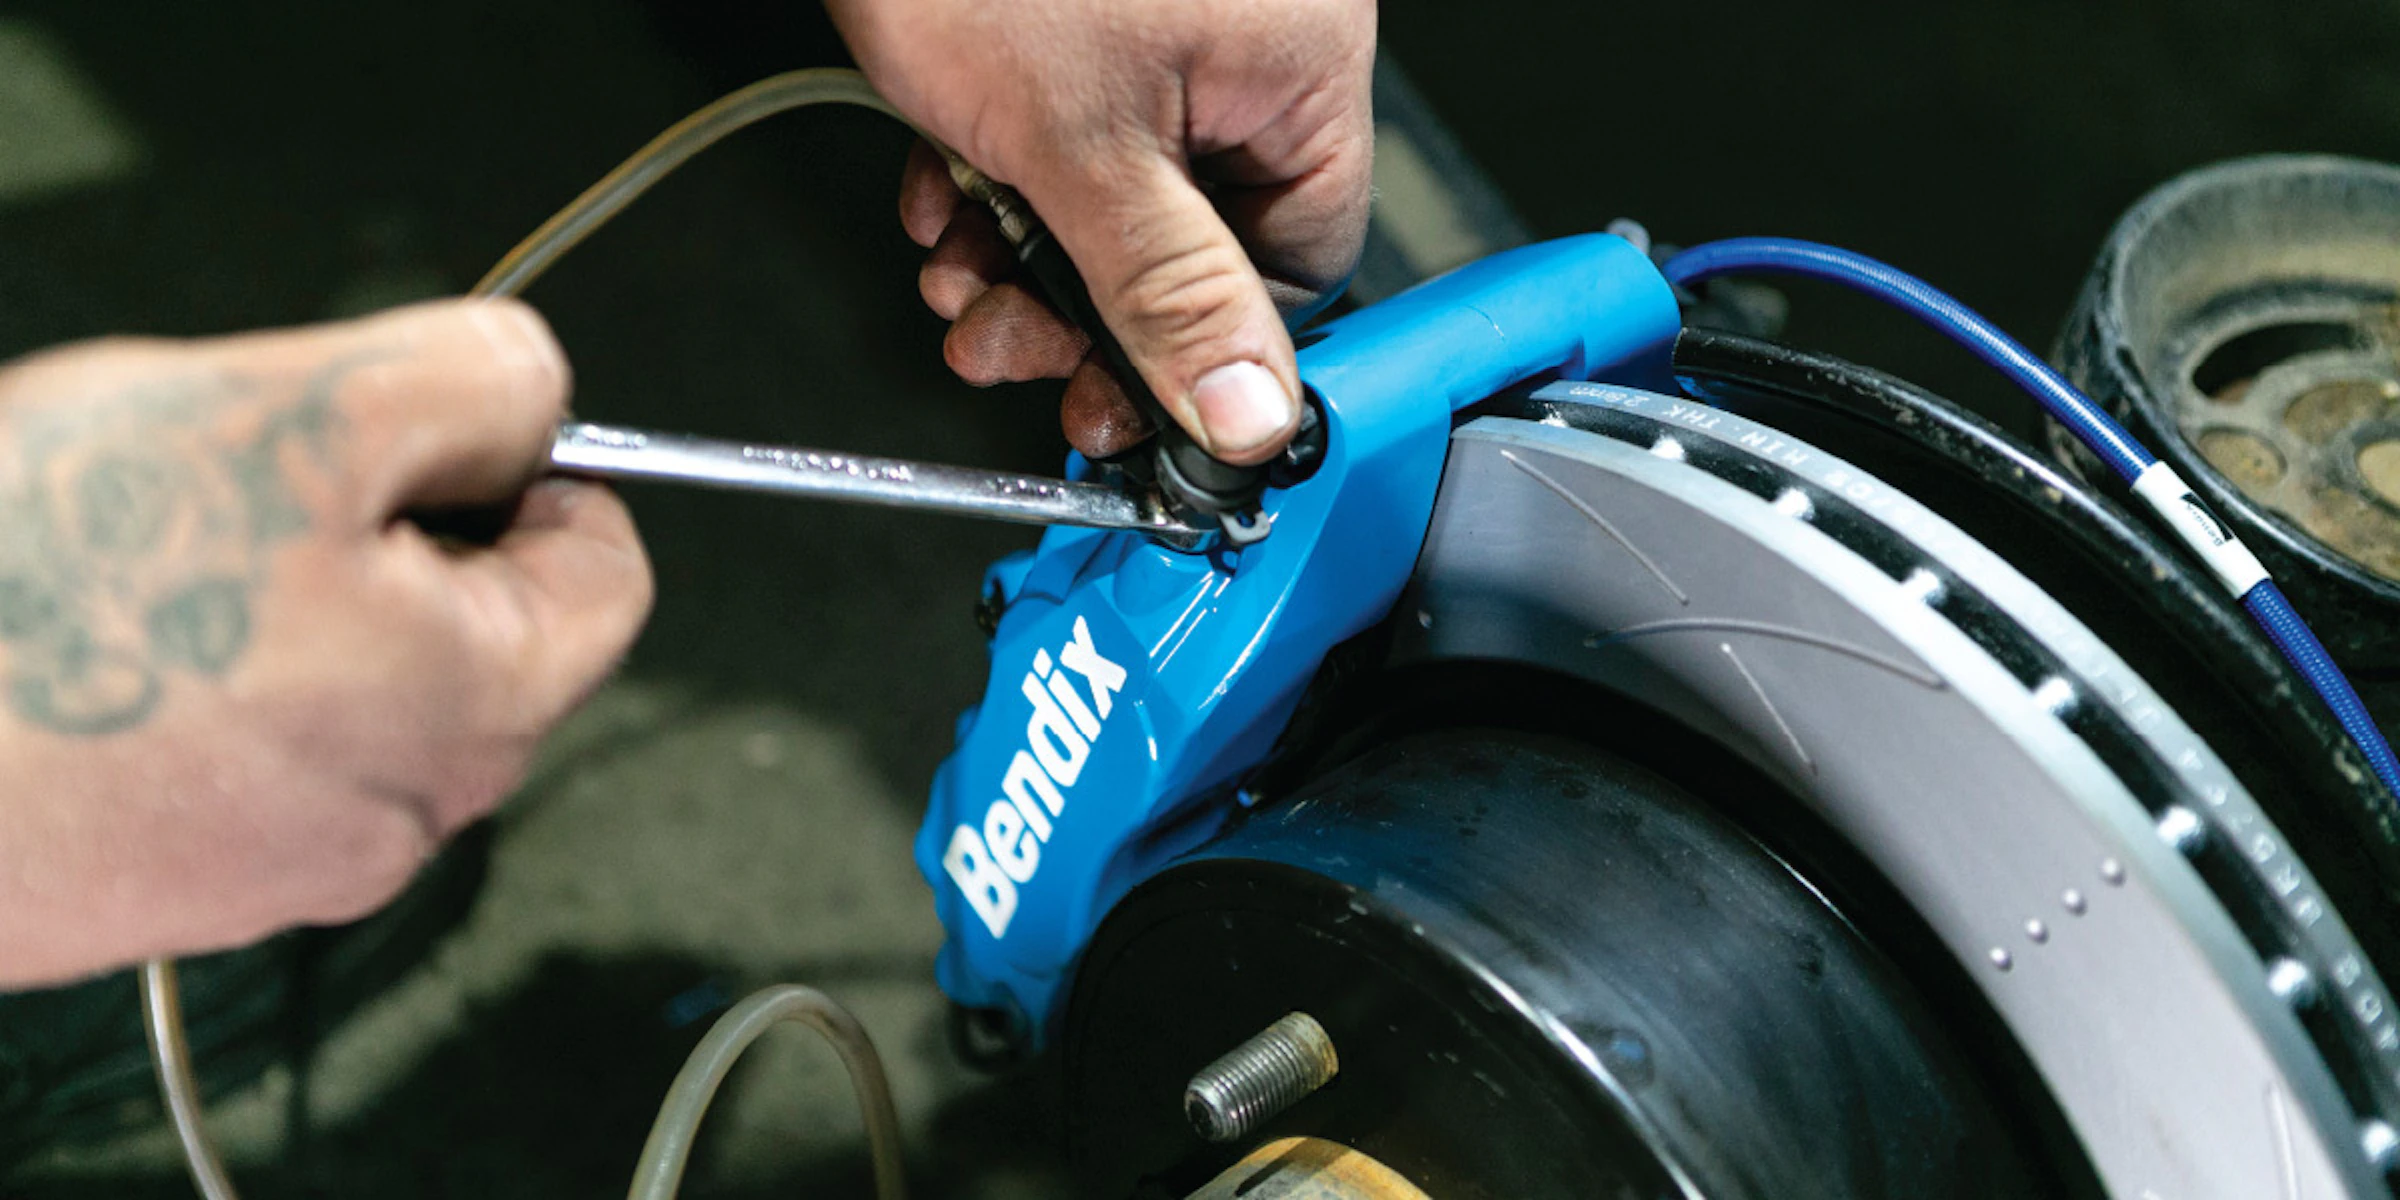
The bleeder kit hose is attached to the bleeder valve at the brake caliper and the nut loosened.
Comprising of a collection canister or container, suction hose, hose adaptor, bleed nipple adaptor and hand vacuum pump, the device suction hose is first placed into the brake fluid reservoir. Ensure the hose is all the way to the bottom of the reservoir (and secondary reservoir if the vehicle has it) to make sure as much old fluid as possible is extracted. The vacuum pump is then squeezed to begin the syphoning. Depending on the kit purchased, the canister may need emptying during the extraction process; if this is the case take care fluid doesn’t spill in the engine bay. Once done, any residue can be wiped from the reservoir neck using a rag.
With the nut now loose, the old brake fluid will begin to flow, helped by the hand pump on the bleeder kit.
Choosing a replacement brake fluid
At this point, the reservoir can be filled with fresh brake fluid to the ‘fill’ line, ensuring the reservoir cap is replaced as soon as possible once full. Select a new brake fluid that’s in keeping with your vehicle’s OEM parameters including appropriate DOT (Department of Transport) rating.
DOT which is normally available in DOT 3, DOT 4, DOT 5 and DOT 5.1 and refers to the fluid’s wet and dry boiling points. A reference point for dry boiling point is when the fluid is brand new, while wet boiling point is when the fluid is 1-2 years old and already has some moisture content. As an example, dry boiling temperature for a DOT 4 fluid would be over 230°C, while the wet boiling temp could be closer to 155°C.
The new brake fluid will have a lighter colour than the old fluid; as it's pumped through, ensure there are no air bubbles visible through the hose.
As a rule, the higher the DOT rating, the higher the boiling point and longevity of the fluid. DOT 4 fluids are the most widely used – Bendix offers both high performance Polyglycol DOT 3 and DOT 4 fluids, providing optimum performance in both hydraulic and conventional braking systems while meeting stringent Australian and U.S specifications.
The bleeding process
Now’s the time to ensure there are no air bubbles in the braking system while sucking out the remaining old brake fluid. Begin at the rear wheels with the one that’s furthest away from the brake master cylinder and fluid reservoir. With the vehicle secured – with hand brake applied – jack up and remove the wheel, then access the bleeder valve. The valve is normally found near the bottom of the brake caliper on vehicles with disc brakes, or behind the backing plate in the case of vehicles using drum brakes.
With the valve located, remove the protective rubber cap and attach the appropriate diameter hose from the bleeding kit. Once done, use a spanner to loosen the nut on the bleeder valve until the fluid begins to flow. Squeezing the hand pump on the bleeder kit will soon remove the remaining old brake fluid along with any air bubbles; it may take 15 to 20 pumps. What’s wanted is for all the air bubbles to dissipate and for a solid fluid line to form within the tubing, it should be a lighter colour than the used fluid as the new liquid comes through. Once finished, the nut on the bleeder valve can be retightened and any fluid residue wiped away.
Prior to beginning the bleeding process, the brake fluid reservoir should be filled with fresh fluid. Once bleeding begins, regularly return to the reservoir and top up as required.
Returning to the brake fluid reservoir, inspect the brake fluid level, it’s likely that it’s dropped, so top up again to the fill line and replace the cap. Repeat the process at the remaining wheels and top up the reservoir if needed.
Once all four corners have been done, the brake pedal may have a lot of travel when pushed and may even trigger an ABS light. After pumping the brake pedal several times it will begin firming up and resume its normal positioning; the ABS light should also go off once the ignition is turned on and off. The vehicle should then be ready for a test drive. While it’s good for owners to be in the know about brake system maintenance, as with all things brake-related, for safety reasons, upkeep is best left to the professionals or qualified owners.